How to Edit Logo, Text, and Images on Your Website
In this guide, you will learn how to change your logo, edit text, and replace images on your website. You can do all of this easily from your dashboard—no technical skills needed.
1. Upload or Change Your Logo
You can change your logo anytime using the Customize option. This is safe and will not affect your website.
Steps to Change the Logo
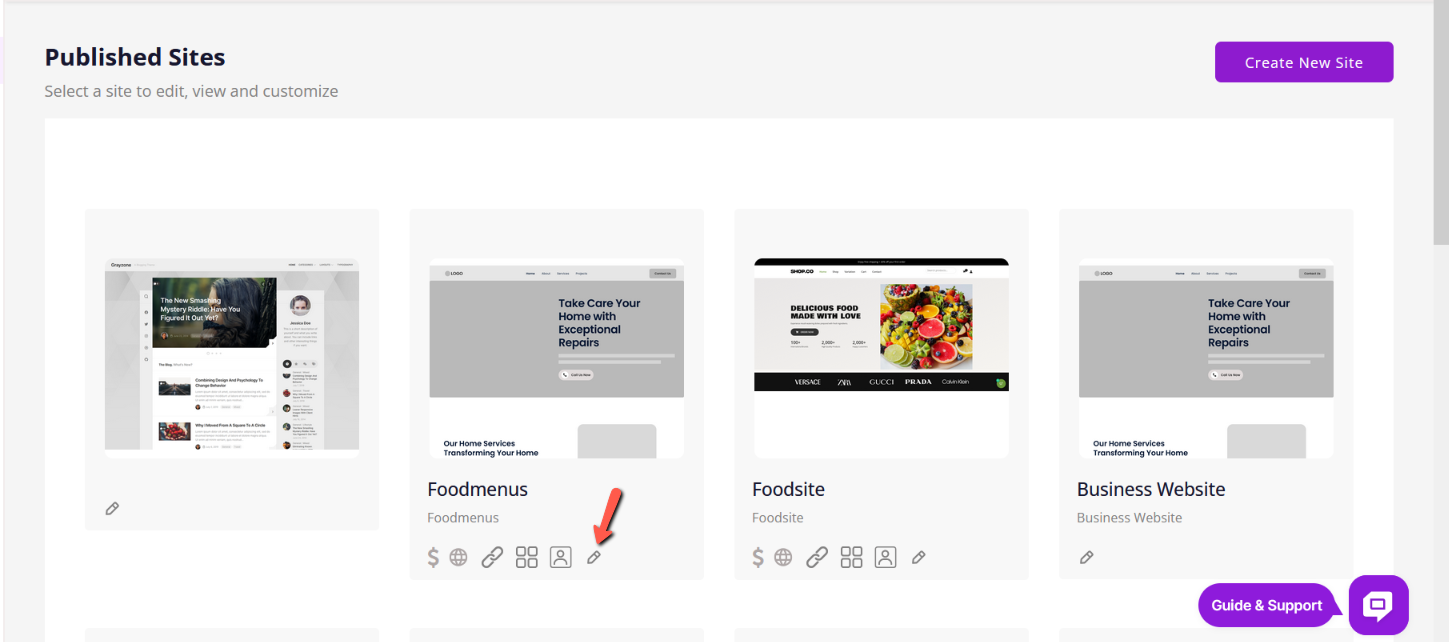
1. Go to your Website Dashboard.
2. Click Customize to open the website editor.
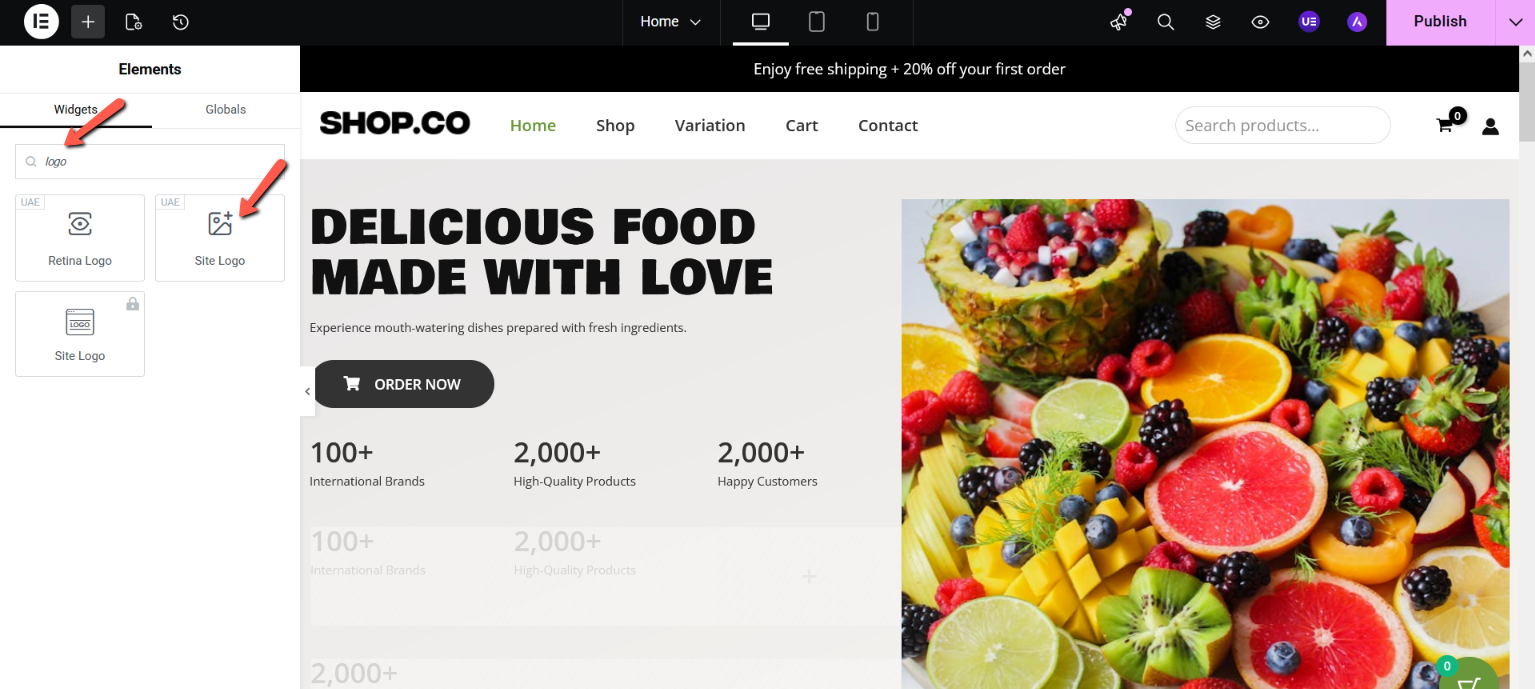
3. A left-side panel will appear on the screen.
4. In the panel, search for Logo and click Site Logo.
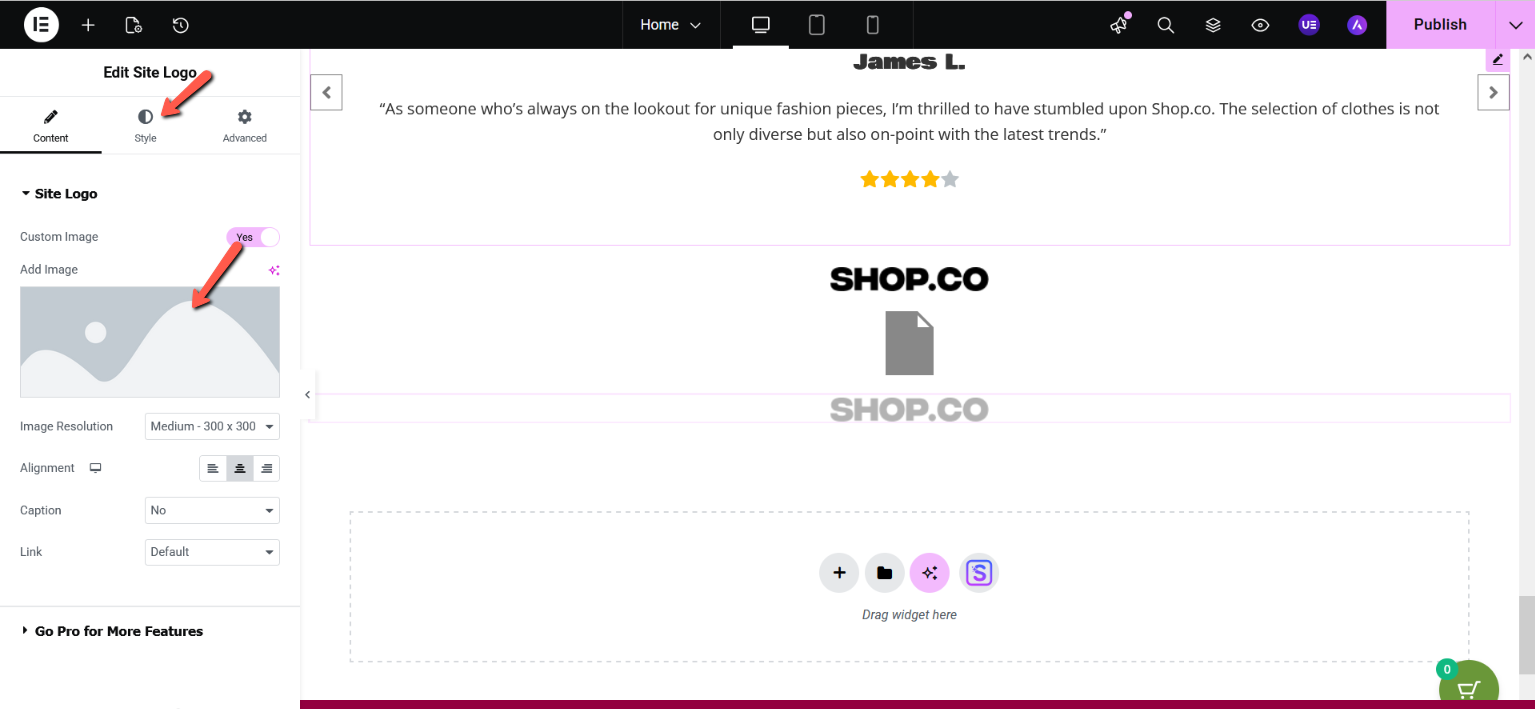
5. Click Upload Logo and select an image from your computer.
6. Once uploaded, the new logo will appear on your website automatically.
Adjust Logo Settings (Optional)
In the same left-side panel, you can also change how your logo looks:
- Logo Height – Make the logo bigger or smaller
- Alignment – Place the logo on the left, center, or right
2. Edit Text Content and Change Images
Edit Text Content
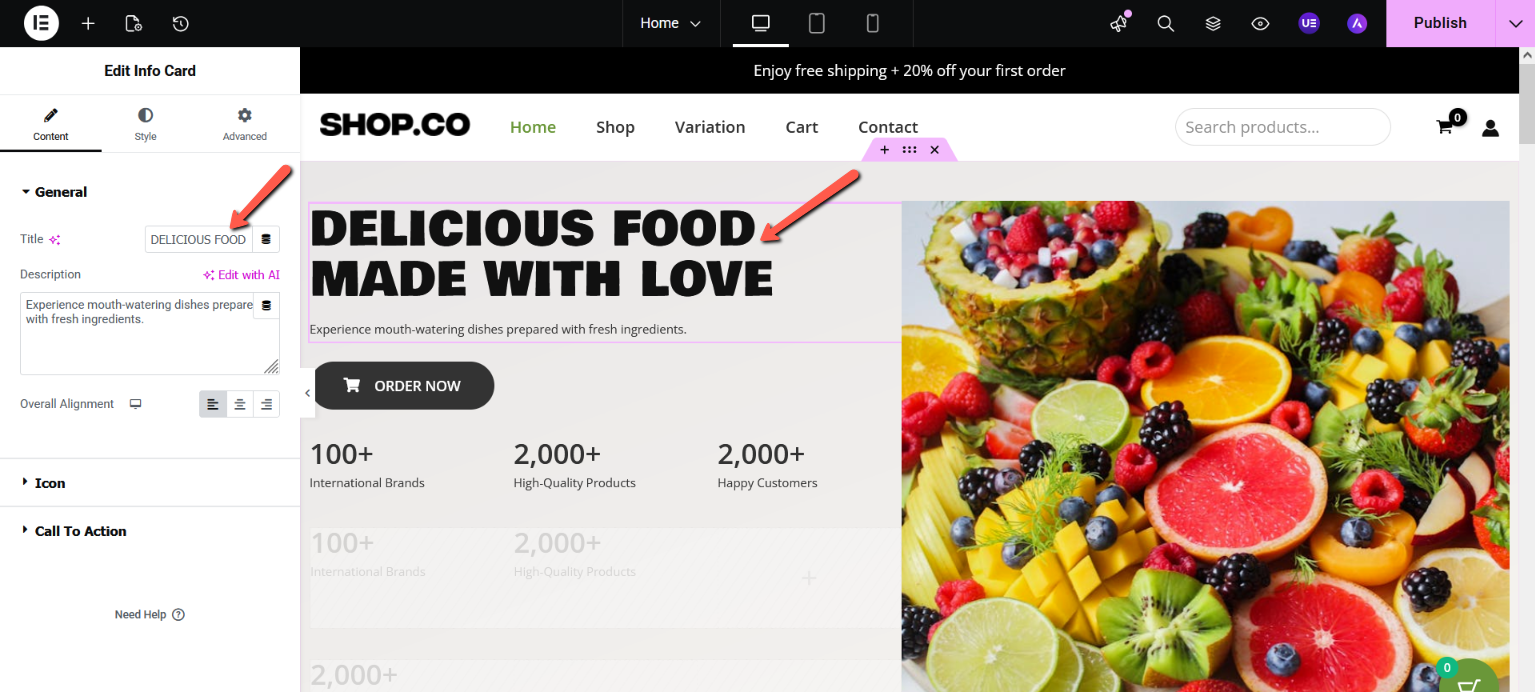
1. Click on the text you want to change (heading, paragraph, or button).
2. The left-side panel will open with editing options.
3. Update the text, font, or color as needed.
4. Click Save or Publish to apply the changes.
Tip: You can also change the text color from the editing options.

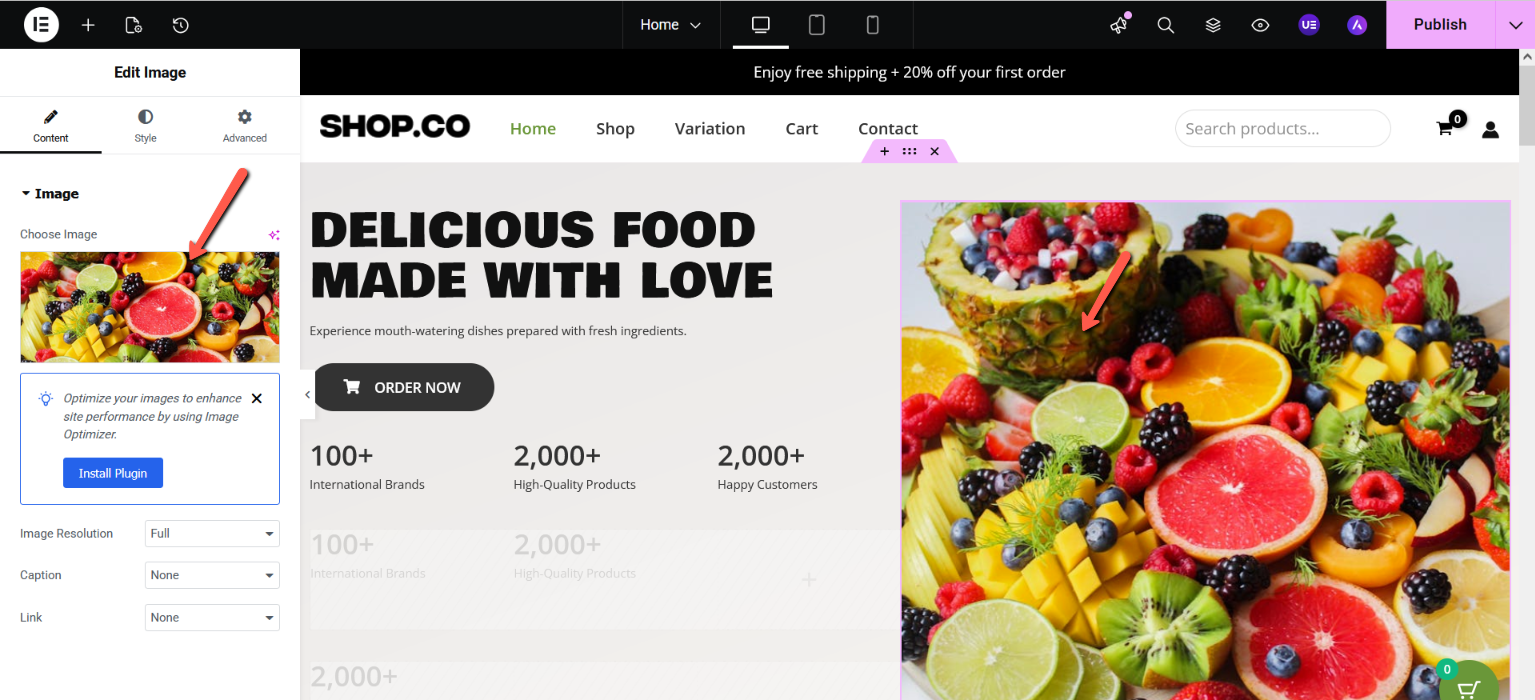
Change or Replace an Image
1. Click on the image you want to change on your website.
2. The image editing options will appear in the left-side panel.
3. Click Change Image or Replace Image.
4. Upload a new image from your computer or select one from the media library.
5. Review the image to make sure it looks correct.
6. Click Save to apply the changes.
Replace the Image
· Once the image is selected, an editing menu will appear.
· Click the “Change” or “Replace Image” option.
· Upload a new image from your computer or choose one from the media library.
Final Note
✔ Changes are safe
✔ You can update them anytime
✔ No technical knowledge required
Your website will look updated instantly after saving or publishing.