Once you click the Monitor Blazer option, the system redirects you to the dashboard.
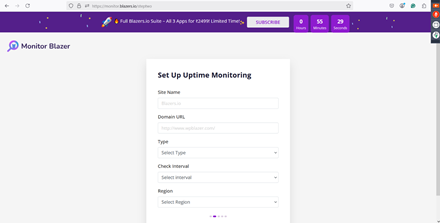
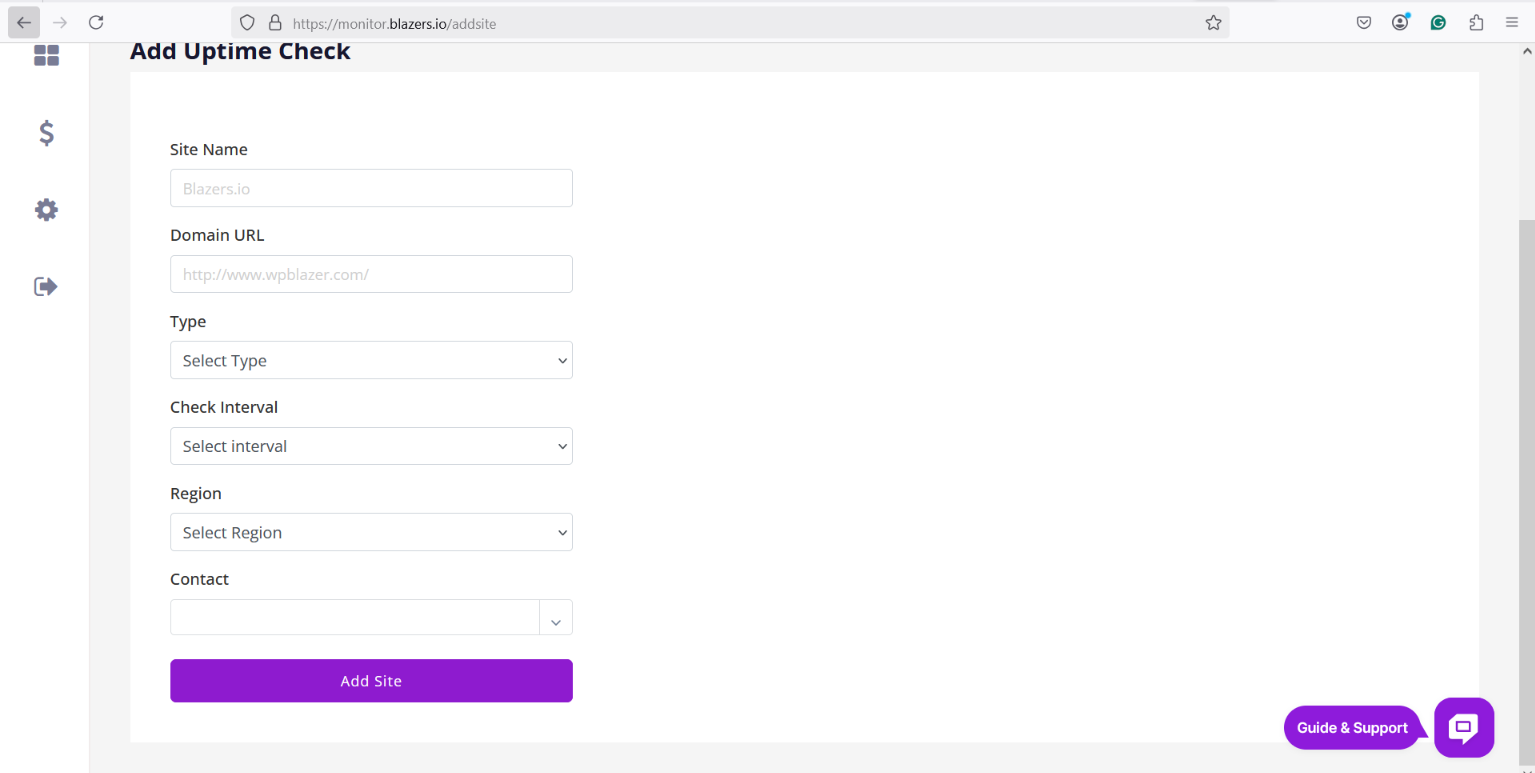
Kindly enter all the required details, including your site name, URL, and the time interval to monitor.
1. Site Name
The Site Name is the label you assign to the website you want to monitor.
It helps you easily identify the site inside your dashboard.
Example:
-
My Business Website
-
Marketing Landing Page
-
Client Portal
This is only for identification and does not affect the monitoring process; it is just a user-friendly name shown in the system.
2. Domain URL
The Domain URL is the actual link to the website or webpage you want to monitor.
This is what the system uses to check your site’s status, performance, or uptime.
Examples:
-
https://yourwebsite.com
-
https://example.com/login
-
https://shop.mysite.in/products
Make sure the URL is correct and accessible; otherwise, the monitoring will show errors.
3. Interval Time
Interval Time refers to how frequently the system will check or monitor your website.
You can set it based on how closely you want to track your site’s performance.
Examples:
-
Every 5 minutes
-
Every 15 minutes
-
Every 1 hour
-
Every 24 hours
Shorter intervals give more frequent updates.
4. Region
Region refers to the geographical location from where your website will be monitored.
Selecting a region helps you understand how your site performs for users from different areas.
Examples of regions:
-
Asia (India, Singapore)
-
Europe (Germany, UK)
-
North America (US, Canada)
Choosing a region closest to your target audience gives the most accurate performance results.
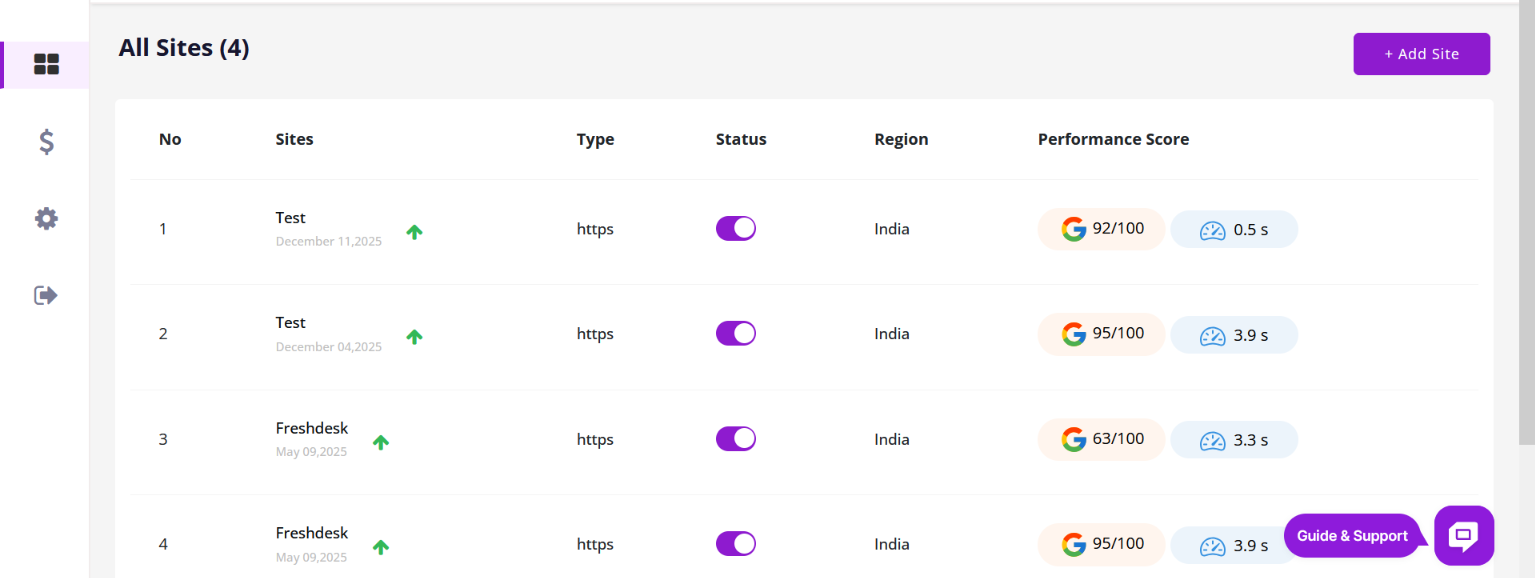
Your site has now been added to the monitoring system, and you will start receiving notifications regarding its status.