Configure an Information Campaign in Proof Blazer
Welcome to Proof Blazer!
An Information Campaign helps you show important messages on your website—such as offers, announcements, or updates—to guide visitors and increase engagement.
Step 1: Install the Widget Code
First, install the Proof Blazer widget on your website. Choose the correct guide based on your platform:
· For Shopify: Install Proof Blazer on Shopify
· For WordPress: Install Proof Blazer on WordPress
· For WooCommerce: Install Proof Blazer on WooCommerce
· For other websites: Install Proof Blazer on other Websites
Once installed, your website is ready to display campaigns.
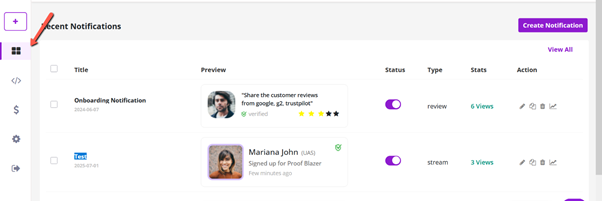
Step 2: Start Creating a Campaign
1. Go to your Proof Blazer Dashboard.
2. Click Select Notification to begin creating a new campaign.
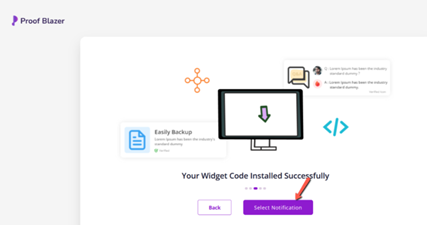
Step 2: Start Creating a Campaign
1. Go to your Proof Blazer Dashboard.
2. Click Select Notification to begin creating a new campaign.
-
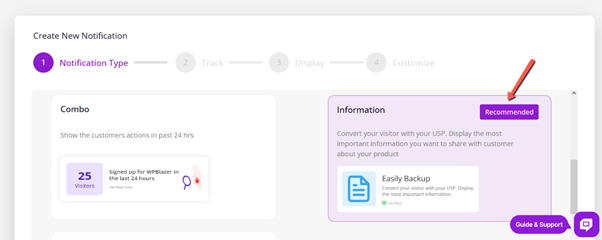
Step 3: Choose Information Campaign
1. From the list of campaign types, select Information Campaign.
2. This campaign lets you display:
o Announcements
o Special offers
o Product updates
o Call-to-action messages
These messages appear as notifications on your website.
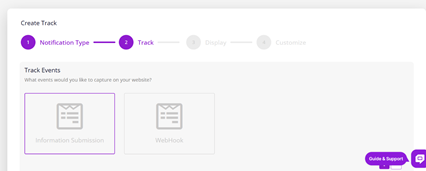
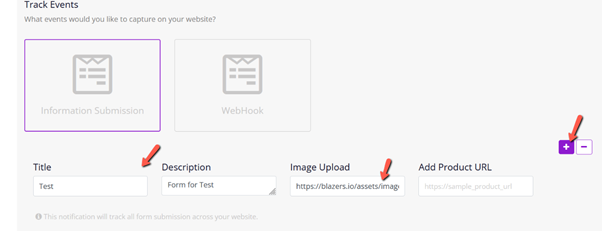
Step 4: Enter Campaign Details
Fill in the following details to create your notification:
- Title – A short, clear headline (example: Limited Time Offer!).
- Description – A brief message explaining the offer or update.
- Image (Optional) – Add an icon or image to make the message more attractive.
- Product URL – The link users should visit when they click the notification.
This helps create a clear and clickable message for visitors.
-
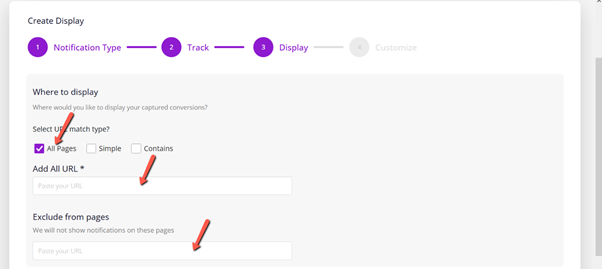
Step 5: Select Pages to Display the Notification
1. Choose the pages where you want the notification to appear.
2. Enter your website URL to link the campaign correctly.
3. You can also exclude specific pages, such as:
o Thank-you pages
o Login pages
o Checkout or sensitive pages
This ensures notifications appear only where they make sense.
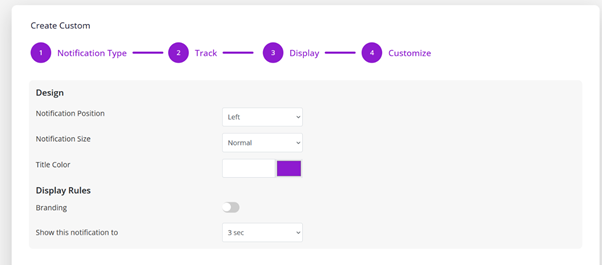
Step 6: Customize the Notification Design
You can customize how the notification looks and behaves:
- Position on the screen (bottom-left, top-right, etc.)
- Notification size
- Title and text color
- Brand logo or company name
- Timing (how long it shows and the delay between messages)
These settings help match the notification with your website design.
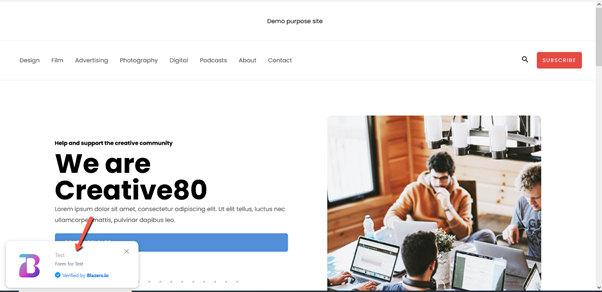
Step 7: Launch the Campaign
1. Once everything looks good, click Launch.
2. Your Information Campaign will now appear on the selected pages of your website.
Step 8: Manage Campaigns Anytime
From the Dashboard, you can:
- Edit active campaigns
- View performance analytics
- Adjust settings
- Create new campaigns