How to Set Up a Counter Campaign in Proof Blazer
A Counter Campaign shows how many people have already taken an action on your website—like visits, sign-ups, or purchases. This helps build trust and encourages new visitors to take action.
Step 1: Install the Widget Code
First, install the Proof Blazer widget on your website.
Choose the guide that matches your platform:
· For Shopify: Install Proof Blazer on Shopify
· For WordPress: Install Proof Blazer on WordPress
· For WooCommerce: Install Proof Blazer on WooCommerce
· For other websites: Install Proof Blazer on other Websites
Once installed, your website is ready to show campaigns.
Step 2: Start Creating a Campaign
1. Log in to your Proof Blazer Dashboard
2. Click Select Notification
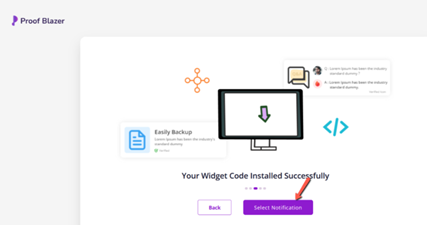
-
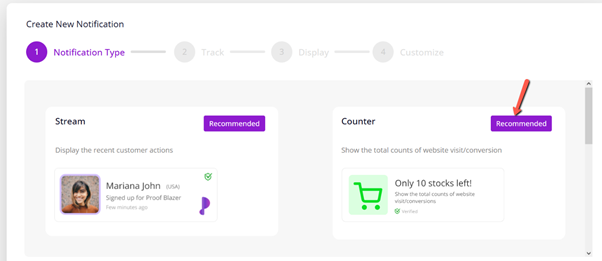
Step 3: Choose Counter Campaign
- Select Counter Campaign from the list
- This campaign shows numbers like:
- Total visitors
- Total sign-ups
- Total purchases
These numbers help visitors trust your website.
-
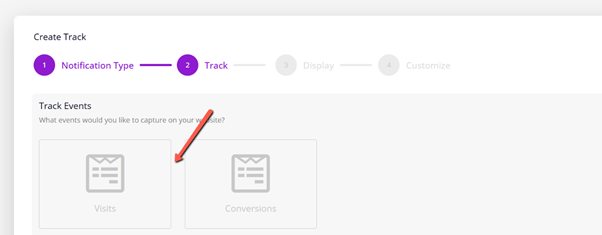
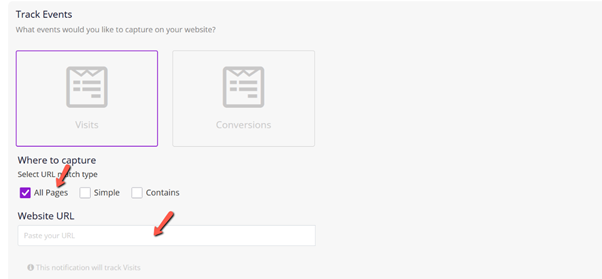
Step 4: Choose What You Want to Count
Select the action you want to show:
- Visits – Shows how many people visited your site or page
- Conversions – Shows how many people signed up or bought something
Choose the option that best fits your goal.
-
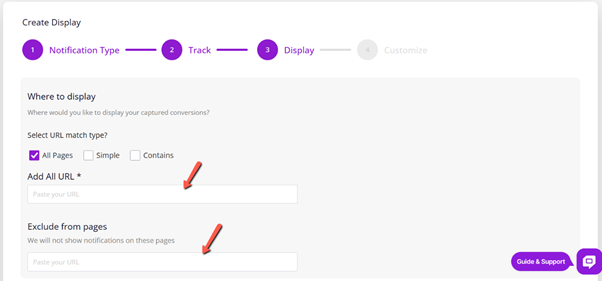
Step 5: Select Pages to Show the Counter
- Choose the pages where you want the counter to appear
- Enter your website URL so Proof Blazer knows where to show it
Step 6: Exclude Pages (Optional)
You can hide the counter on specific pages, such as:
- Thank-you pages
- Login pages
- Private or sensitive pages
This helps keep a clean user experience.
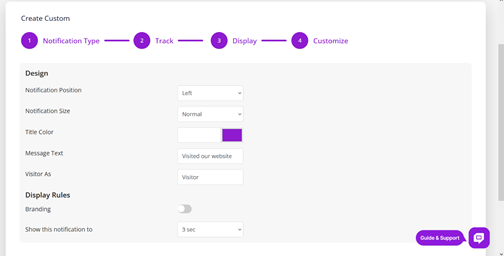
Step 7: Customize the Look of the Counter
You can change how the counter looks and behaves:
- Position on the screen (bottom left, top right, etc.)
- Size of the counter box
- Text color and title style
- Show your logo or brand name
- Control timing (how long it shows and the delay between views)
These options help match your website design.
These settings help ensure your campaign looks professional and aligns with your website’s design.
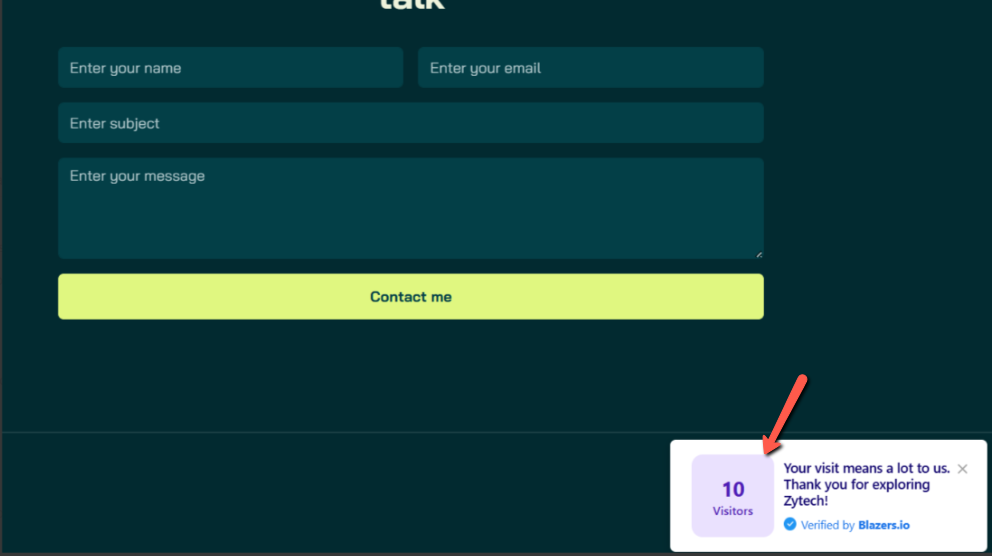
Step 8: Launch Your Campaign
- Click Launch
- Your counter is now live 🎉
Visitors will now see real numbers on your website, helping to increase trust and conversions.
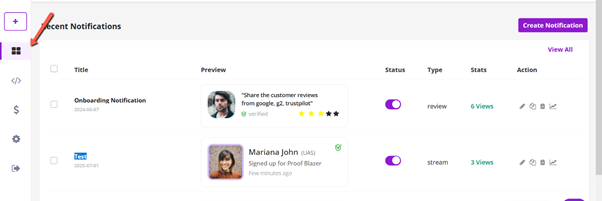
Step 9: Manage Anytime from Dashboard
From the Dashboard, you can:
- Edit campaigns
- View performance and analytics
- Change settings
- Create new campaigns