Configure Stream Campaign in Proof Blazer
(Show real customer activity on your website)
A Stream Campaign shows live activity on your website, such as sign-ups or purchases.
This helps visitors trust your business and take action.
Step 1: Install the Widget Code
First, install Proof Blazer on your website.
Choose the option that matches your website:
· For Shopify: Install Proof Blazer on Shopify
· For WordPress: Install Proof Blazer on WordPress
· For WooCommerce: Install Proof Blazer on WooCommerce
· For other websites: Install Proof Blazer on other Websites
👉 This step connects Proof Blazer to your website.
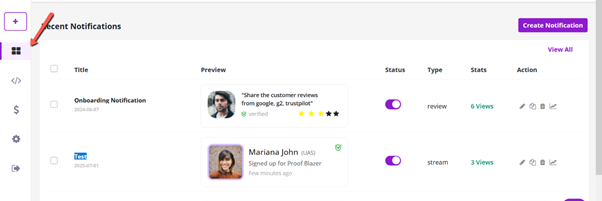
Step 2: Create a New Campaign
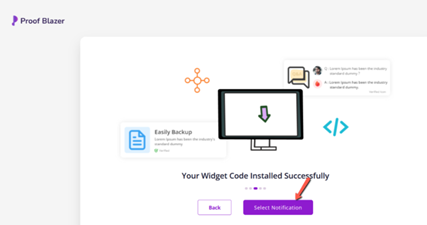
1. Go to your Proof Blazer Dashboard
2. Click Select Notification
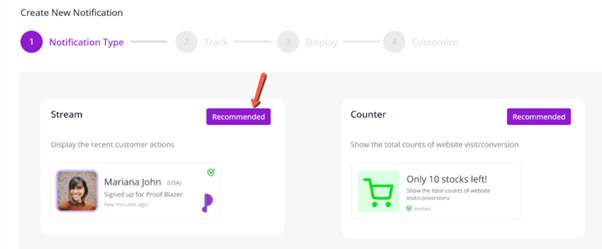
3. Choose Stream Campaign
Now you are ready to show real-time activity on your website.
This will allow you to display real-time user activity on your website, such as recent sign-ups or purchases, helping to build trust and encourage conversions.
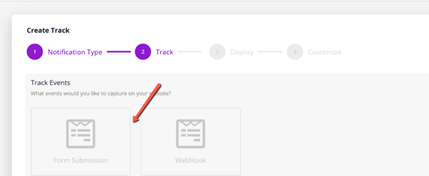
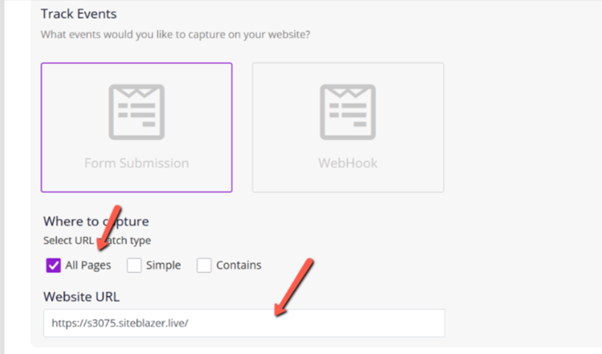
Step 3: Choose How to Track Activity
Select how Proof Blazer should receive user actions:
Option 1: Form Submission
- Use this if visitors sign up using a form on your website
Option 2: Webhook
- Use this if data comes from another app or system
👉 Don’t worry — just choose the option that matches your setup.
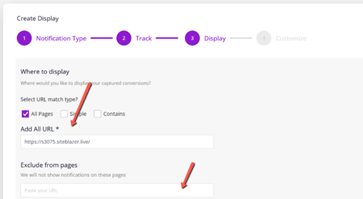
Step 4: Select Pages to Show Notifications
- Choose the pages where you want notifications to appear
(Example: Home page, Product page) - Enter your website URL
This ensures notifications show on the correct website.
Step 5: Exclude Pages (Optional)
You can hide notifications on certain pages, such as:
- Thank-you pages
- Login pages
- Private or sensitive pages
This keeps your website clean and professional.
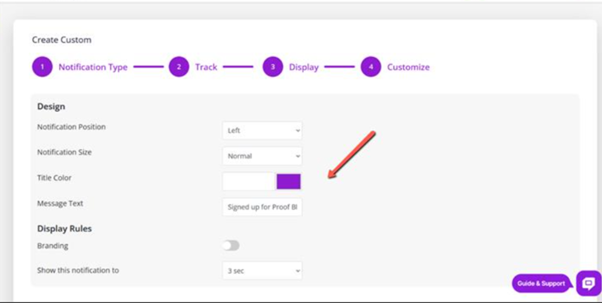
Step 6: Customize the Notification Look
You can change how notifications look and behave:
- Position (bottom left, top right, etc.)
- Notification size
- Text and title color
- Logo or business name
- How long notifications stay on screen
- Time gap between notifications
👉 These options help match your brand style.
These settings help ensure your campaign looks professional and aligns with your website’s design.
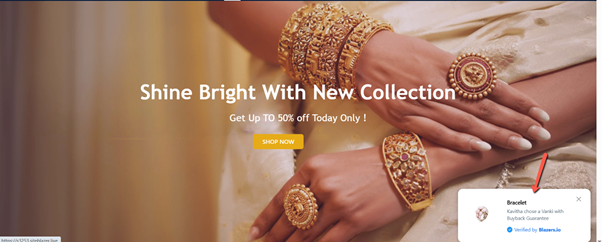
Step 7: Launch Your Campaign
- Click Launch
🎉 That’s it!
Your Stream Campaign is now live and showing real activity on your website.
Manage Your Campaign Anytime
From the Dashboard, you can:
- Edit campaigns
- View performance
- Change settings
- Create new campaigns