Connect Your Facebook Page with Social Blazer
Follow these simple steps to connect and manage your Facebook Page using Social Blazer.
Step 1: Log in to Social Blazer
-
Log in to your Social Blazer account.
-
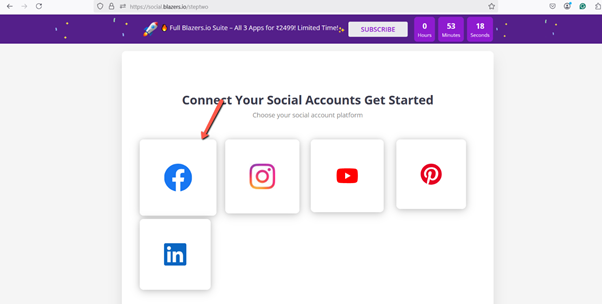
Go to the Dashboard.
-
Click on the Facebook option from the list of social media platforms.
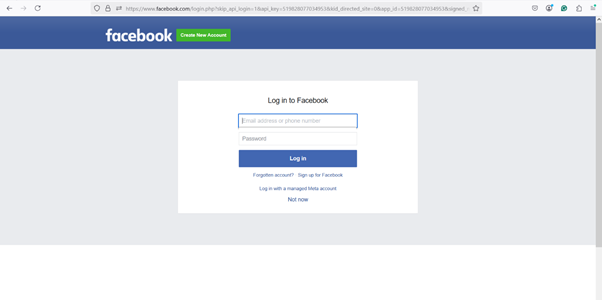
Step 2: Sign in to Facebook
-
You will be redirected to the Facebook login page.
-
Enter your Facebook username and password.
-
Authorize Social Blazer to access your Facebook account.
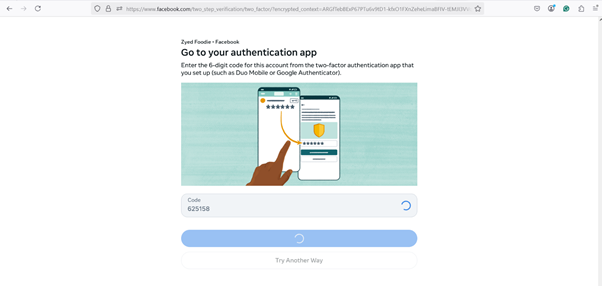
Step 3: Verify Your Identity
-
Facebook will send an authentication code to your registered mobile number.
-
Check your phone and enter the code in the verification field.
-
This completes the secure login process.
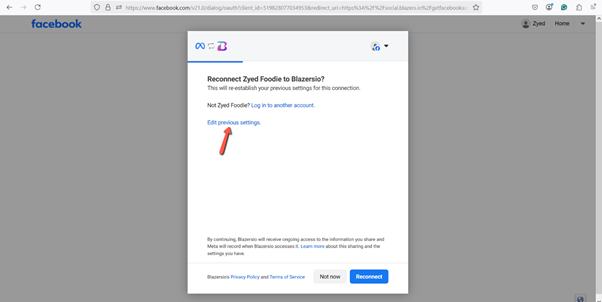
Step 4: Edit Facebook Settings
-
A settings window will appear.
-
Click on “Edit Previous Settings” to continue.
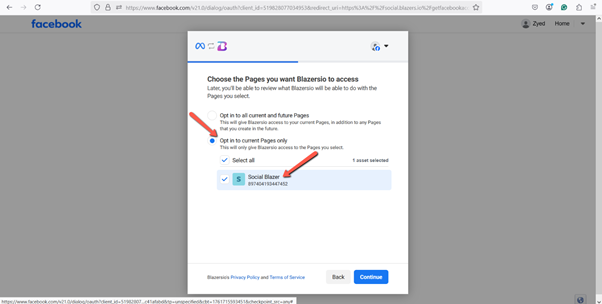
Step 5: Select Facebook Pages
-
Choose “Opt-in to Current Pages".
-
Select the Facebook Page you want to connect with Social Blazer.
Before proceeding with the setup process, you must first create a Facebook Business Page for your account. This is required to continue with the integration and configuration steps. To learn how to create a Business Page, you can refer to the following link:https://www.facebook.com/business/tools/facebook-pages?content_id=Q4fzhXrAfv8acZw&ref=sem_smb&utm_term=facebook%20for%20business&gclid=EAIaIQobChMI1NDezdfIkAMV9CWDAx169iRCEAAYASABEgKa9_D_BwE&gad_source=1&gad_campaignid=21430017051
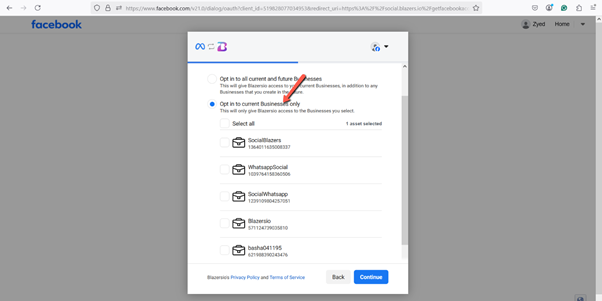
Step 6: Complete the Setup
-
After selecting your Business Page, click “Continue".
-
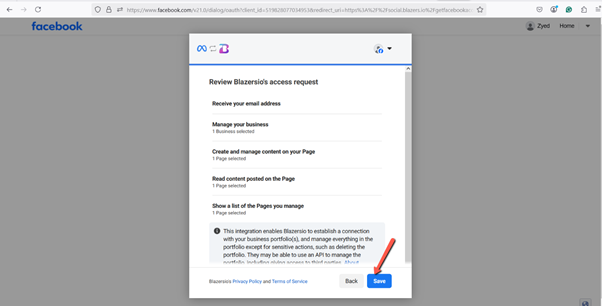
Review all settings carefully.
-
Click Save to apply the changes.
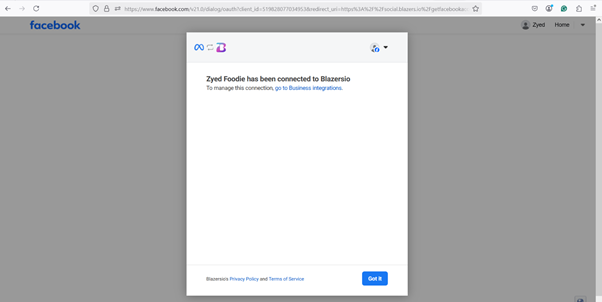
Step 7: Confirmation
-
You will see a message confirming that your Facebook Page is successfully connected.
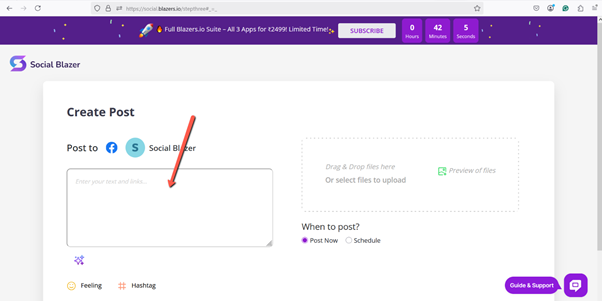
Step 8:
You will be redirected to a page where you can:
-
Create posts
-
Publish content
-
Manage your Facebook Page directly from the Social Blazer dashboard