1. To install the widget code, please refer to the appropriate link below based on your platform:
· For Shopify: Install Proof Blazer on Shopify
· For WordPress: Install Proof Blazer on WordPress
· For WooCommerce: Install Proof Blazer on WooCommerce
· For other websites: Install Proof Blazer on other Websites
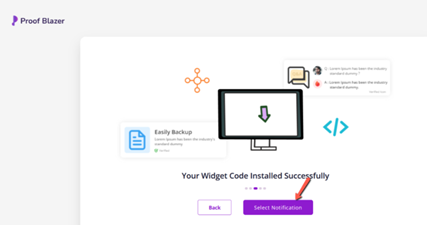
2. After installing the widget, go to the dashboard and click on “Select Notification” to start creating your campaign.
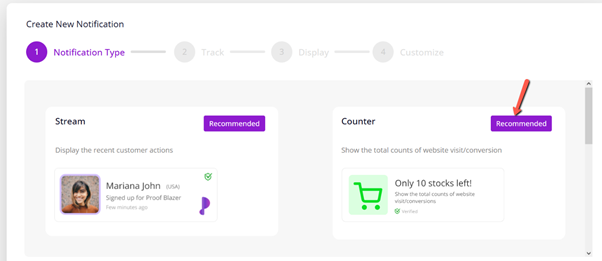
- 3. Once you’ve selected “Notification”, choose the Counter Campaign option from the list of campaign types.
- 4. This campaign displays the total number of users who have taken a specific action on your website—such as sign-ups, purchases, or downloads—helping to create trust and urgency through visible activity counts.
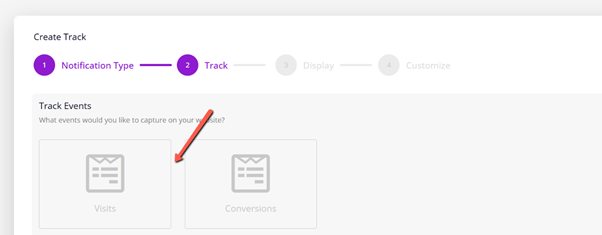
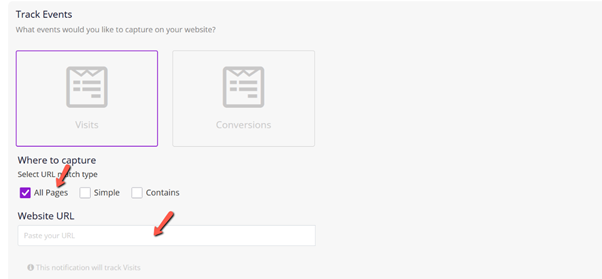
5. Next, choose the event type you want to track for your Counter Campaign. You can select from options like:
Visits – to show the number of visitors to your website or a specific page.
Conversions – to display the number of users who completed a desired action, such as signing up or making a purchase.
This ensures your counter reflects meaningful engagement data that builds credibility and drives action.
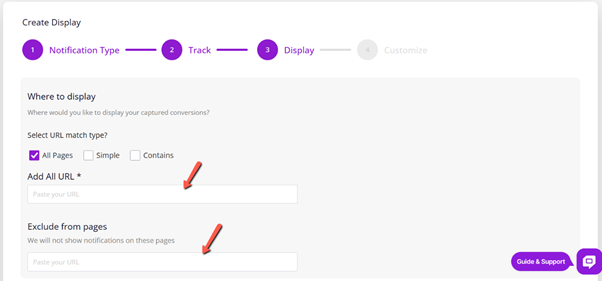
- 6. After choosing your tracking method, select the pages where you want the Stream Campaign notifications to appear.
- 7. Then, enter your website URL to link the campaign to the correct site. This ensures the notifications are displayed only on the specified pages of your website.
8. You can also exclude specific pages of your website where you don’t want the notifications to appear.
This allows you to control the user experience by only showing notifications on relevant pages, such as excluding thank-you pages, login screens, or sensitive content areas.
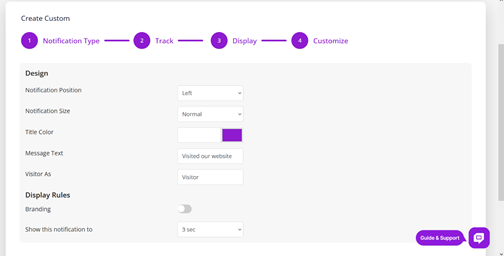
9. You can further customize the appearance and behavior of your notifications to match your brand and user experience. Customization options include:
· Position of the notification on the screen (e.g., bottom left, top right).
· Size of the notification box.
· Title color and text message styling.
· Branding options such as logo or company name.
· Notification timing, including how long each message appears and the delay between notifications.
These settings help ensure your campaign looks professional and aligns with your website’s design.
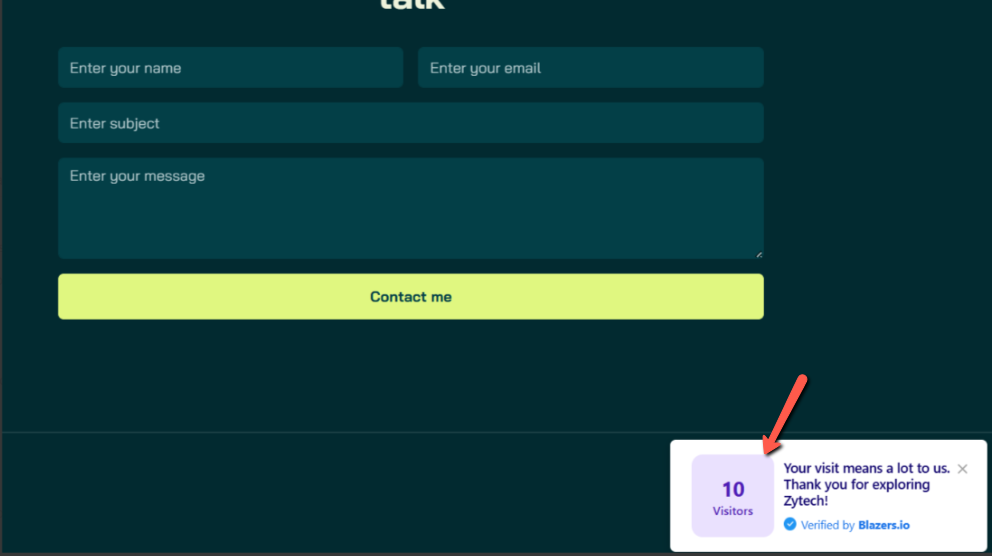
10. Once you’ve completed all the customizations, simply click “Launch” to activate your campaign.
Your real-time notifications will now start appearing on the selected pages of your website, helping to boost trust, engagement, and conversions.
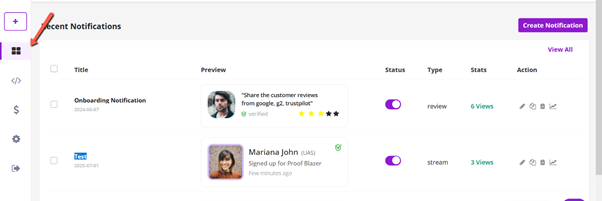
11. For further customization or to manage your active campaigns, you can access everything through the Dashboard.
From there, you can edit existing campaigns, view performance analytics, adjust settings, or create new ones as needed.