After you install a plugin, one more step is needed -- activate the plugin. This article shows you how to activate a plugin on a single site or multiple sites at the same time.
Getting ready
Before activating a plugin, you need to know how to select a site or sites. For more information, read:
Activating a plugin on a single site
Select the site you want to update and then click the Dashboard icon. A new page displays.
On the left menu, hover the mouse on the WordPress icon and then click Plugins. A new page displays.

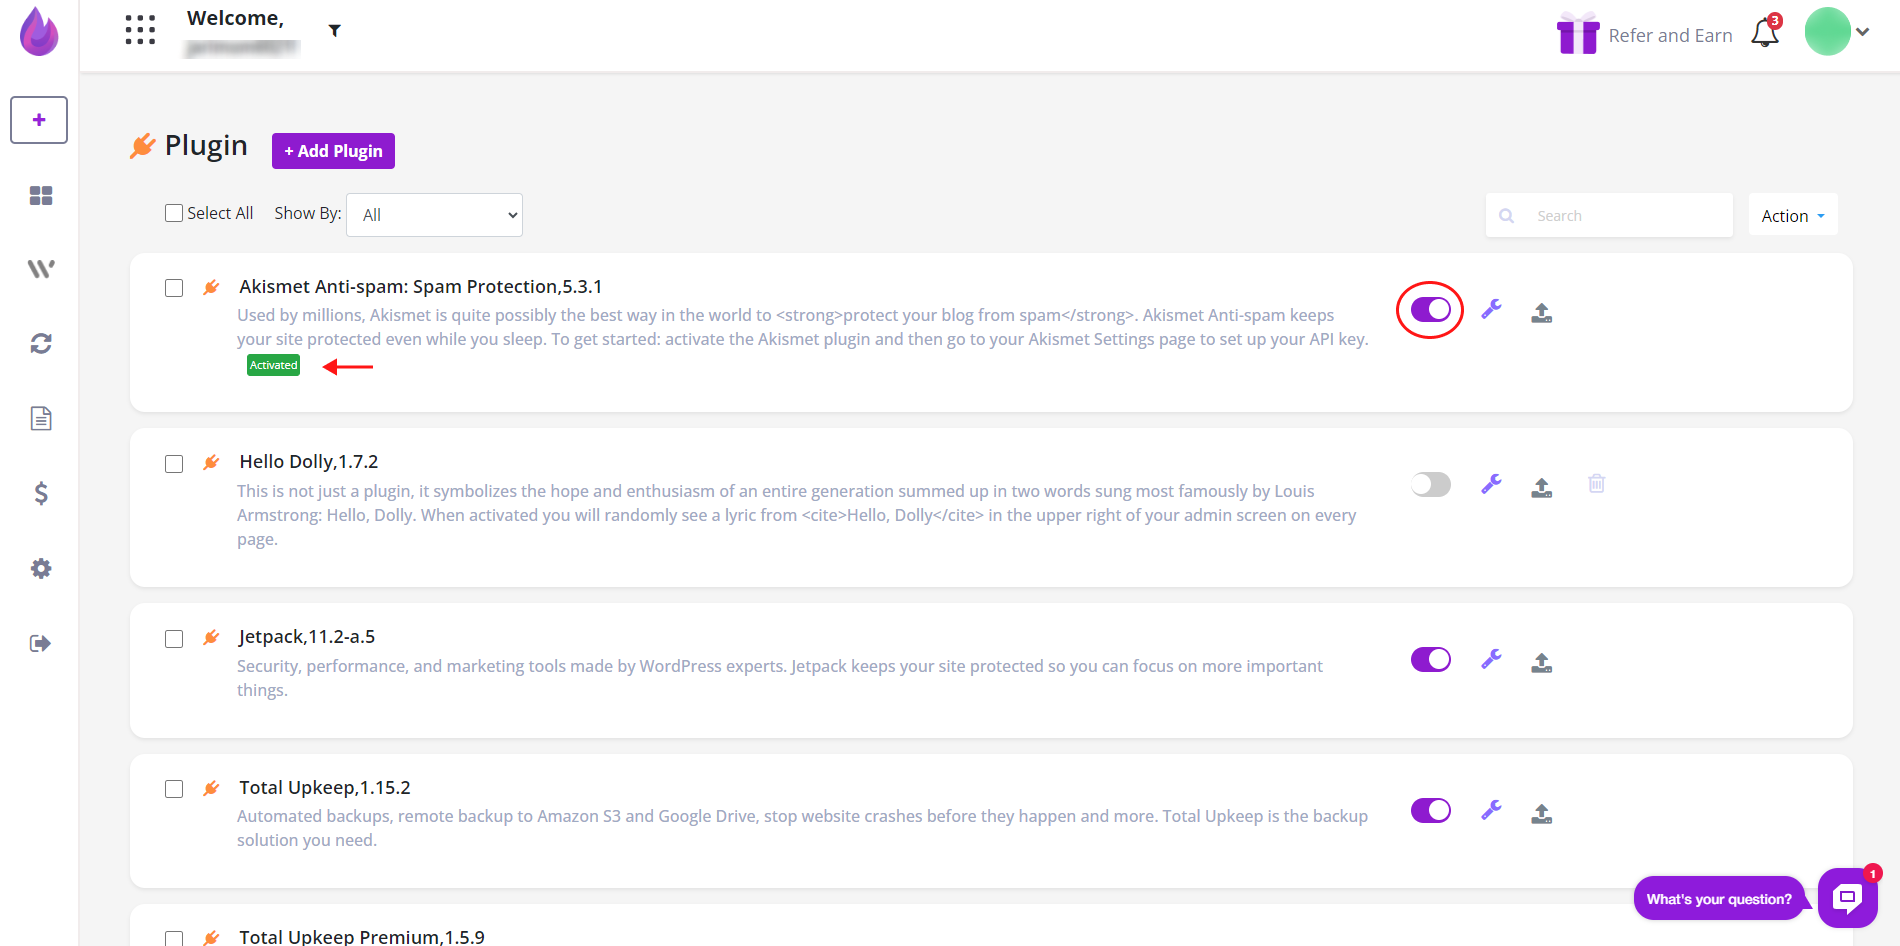
On the new page, locate the plugin that you want to activate.
Click the toggle switch to the ON position (Purple) to activate the plugin.
Activating a plugin on multiple sites
Select the sites you want to update.
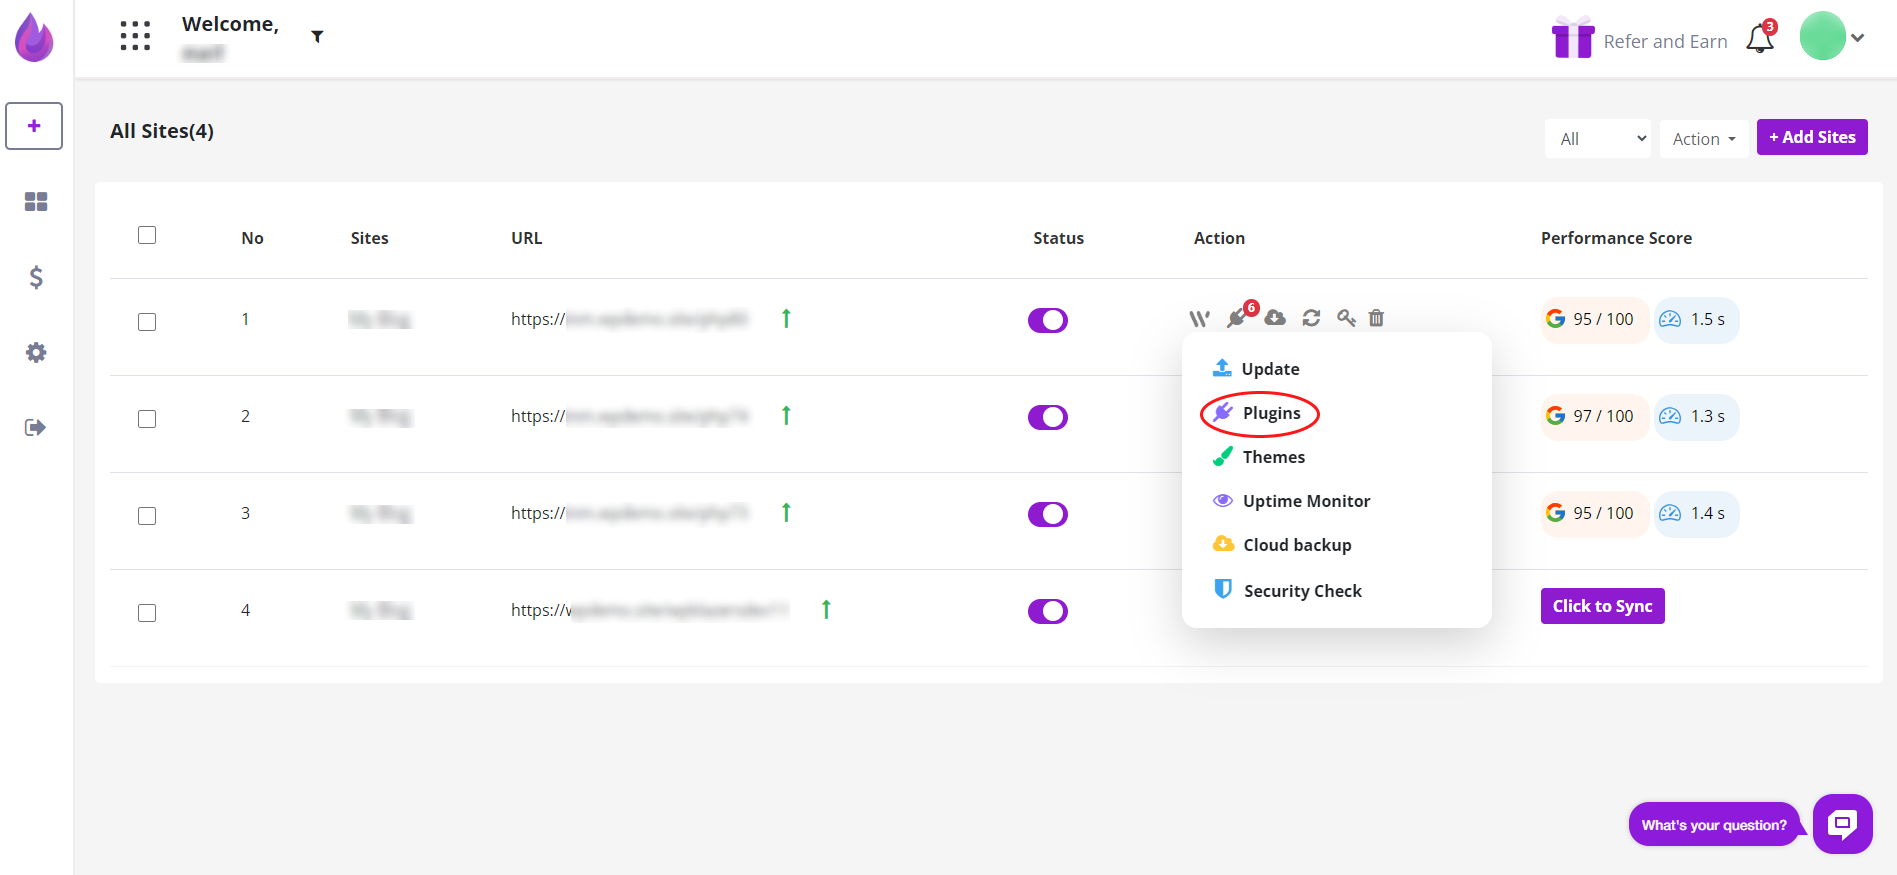
Click the Action button in the top right corner of the page and then select Manage Selected Sites on the drop-down menu

On the left menu, hover the mouse on the WordPress icon and then click Plugins. A new page displays.
On the new page, scroll down the list and click the plugin (or plugins) that you want to activate. A drop-down menu shows site names.
To activate the selected plugins, you have two options. The first option is to click the toggle switches to the ON position.
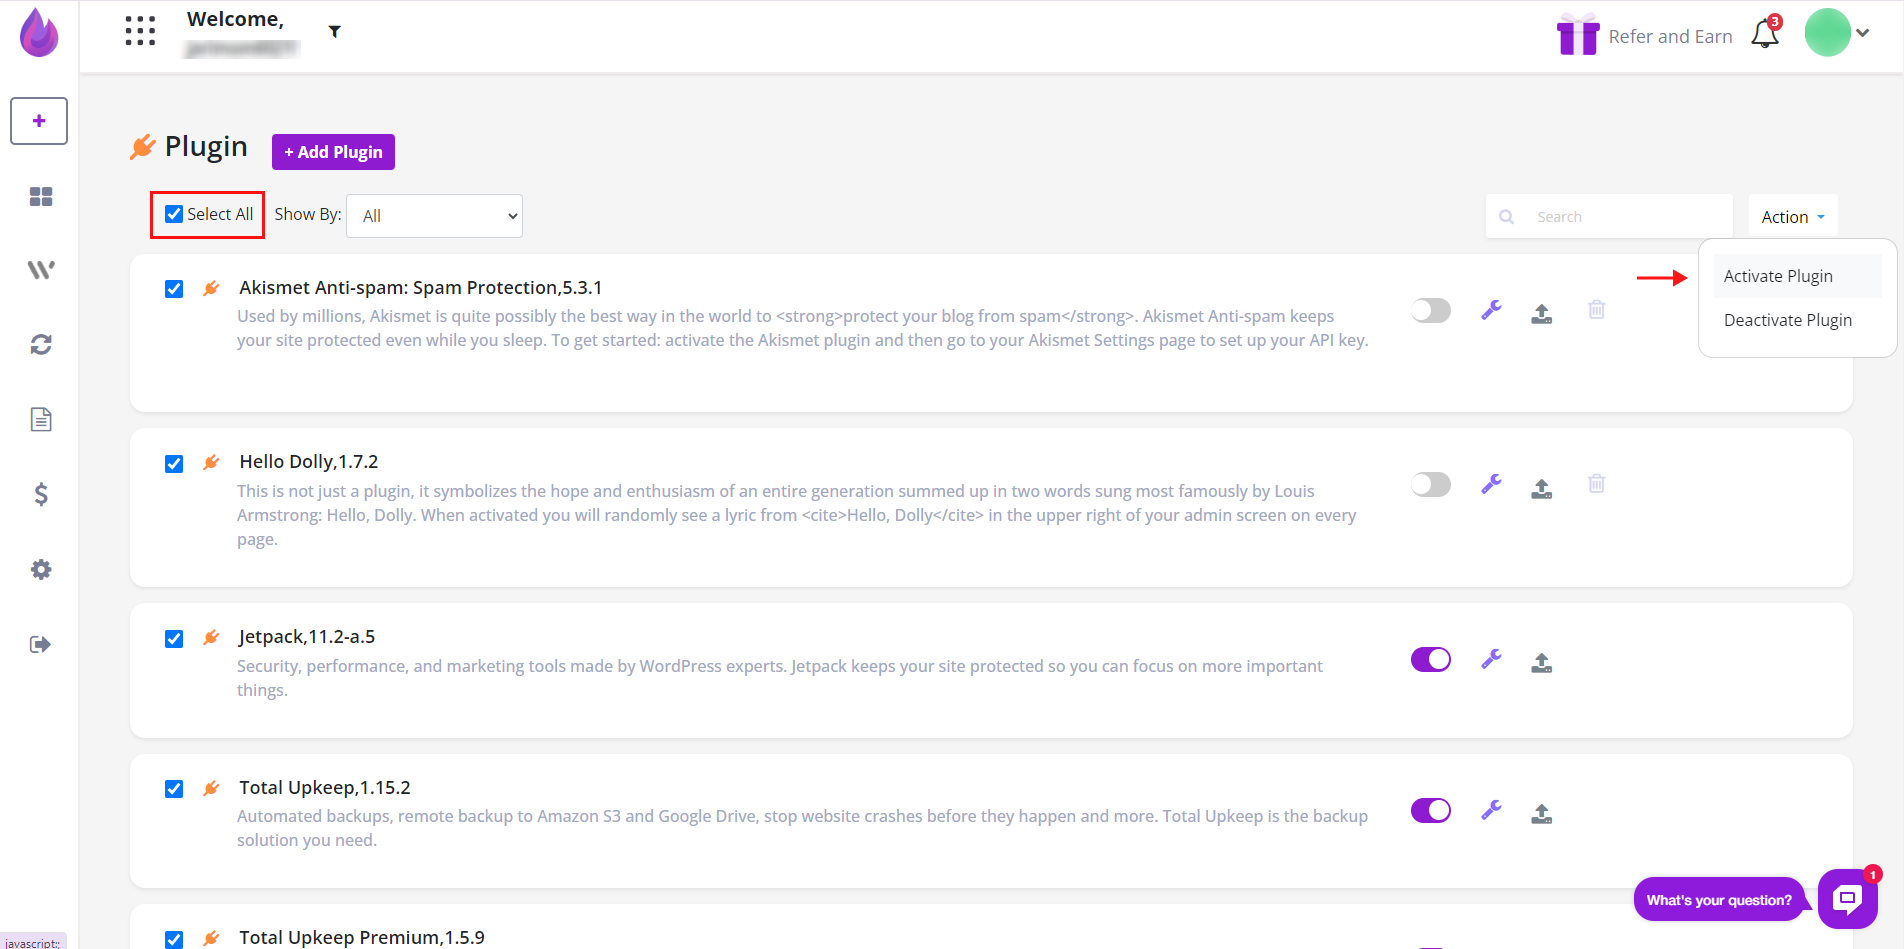
The second option is to click the checkbox beside each site name.
Next, scroll up to the top of the page. Click the Action button, and then select Active Plugin.
The plugins are now active.