Plugins are apps that add features and functions to a WordPress site. There are thousands of free plugins and heaps of commercial products, too.
This article shows you how to install a plugin on a site from the WPBlazer dashboard.
Getting ready
On the WPBlazer dashboard, select a site to update. You can also install a plugin on multiple sites or sites in a group.
If you are not sure how to work with multiple sites or groups, see read this article.
Opening the plugin dashboard
Click the Action button at the top of the page. Choose Manage Selected Sites on the drop-down menu. A new page displays.

On the left menu, hover the mouse on the WordPress icon and then click Plugins. A new page displays.

Click Add New Plugin at the top of the page. A new dashboard displays.
- Click My Vault to select a plugin saved on your site.
- Click WordPress Repository to select a plugin from the list of popular options. To search the WordPress database, enter the name of a plugin, and then click Go.

Installing a plugin
After locating the plugin, click the INSTALL button. The install dashboard displays.
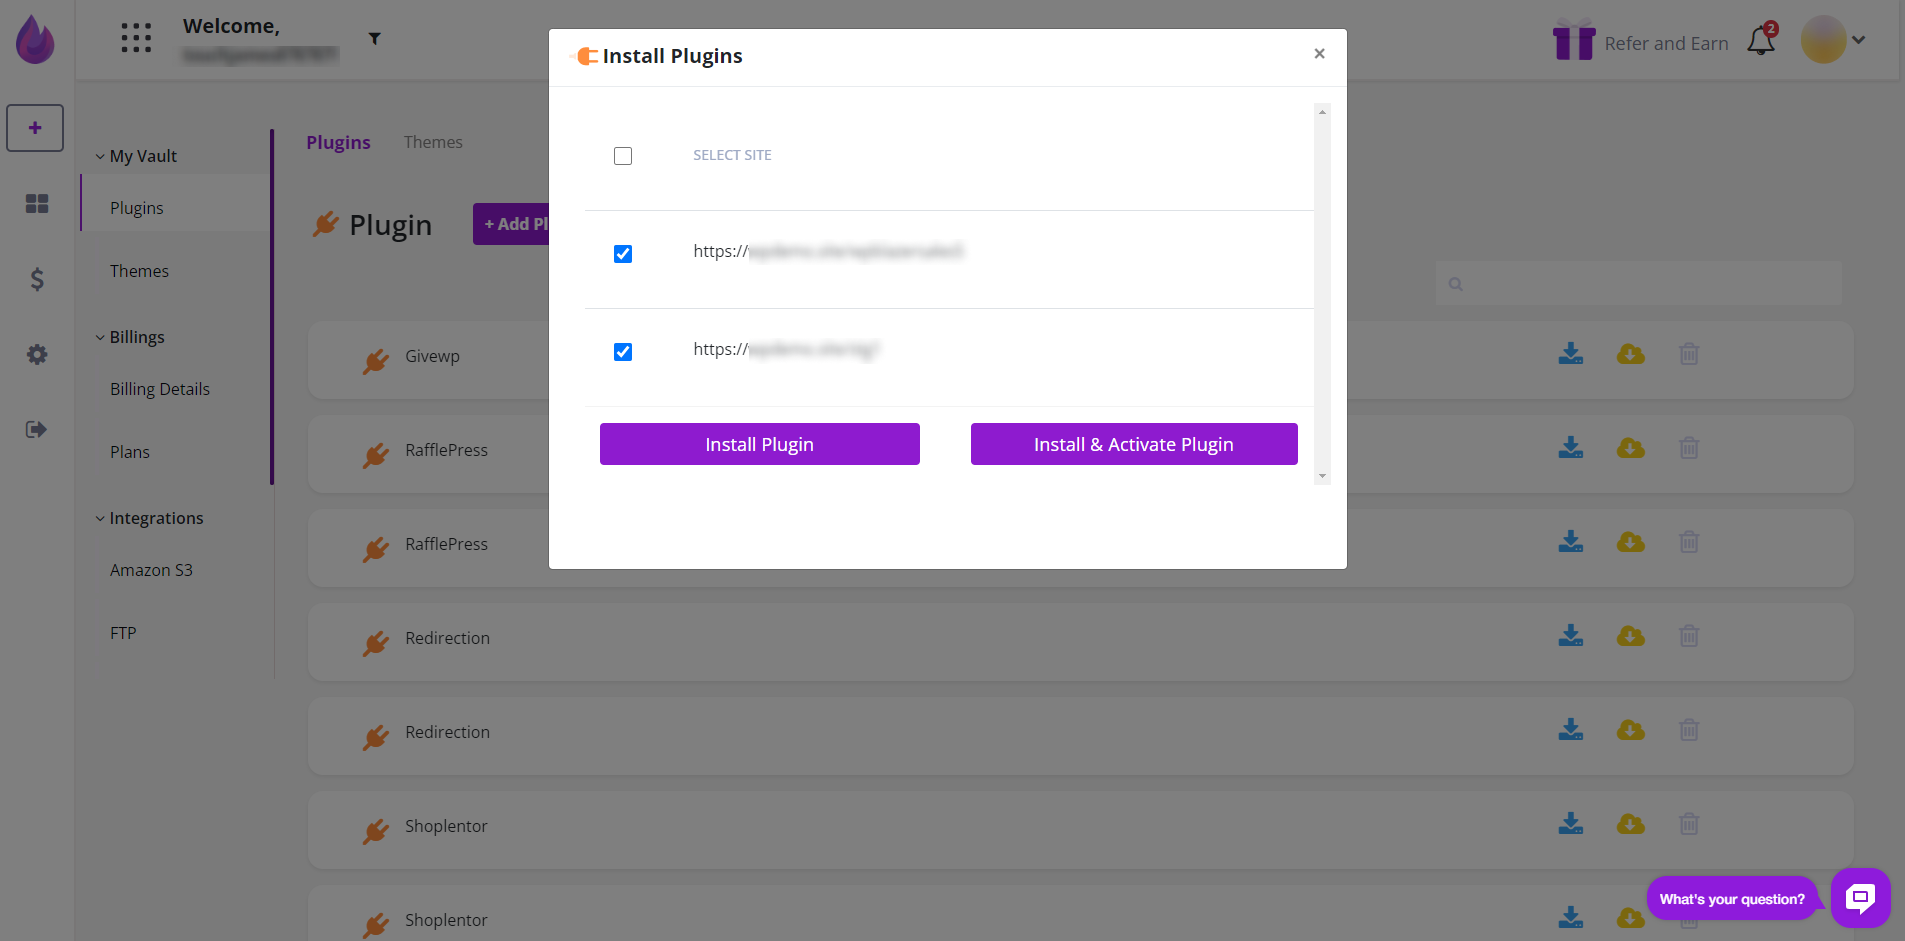
- Check the box beside the sites to get the plugin. Check the SELECT SITE box to choose all sites.
- Click Install Plugin or Install & Activate Plugin.

When the installation is complete, the green Installed icon displays.
